.JPG) This is a little something I threw together for a client who is getting married soon and wants unbelievably big hair :) I LOVE, LOVE, LOVE big hair, so this was a treat to be able to tell her that her dreams of big hair were possible When I sat her down for her consultation and gave her "the talk" about how in most photos with long luxurious or big hair, there's a lot of hair there that's was added to create a look. As I like to say, "There's a whole lotta weave up in that mess!!!" Haha!!! So I showed her the "filler" I made, she looked at is sideways after which I reassured her that it was definitely going to work and we moved forward with the style.
This is a little something I threw together for a client who is getting married soon and wants unbelievably big hair :) I LOVE, LOVE, LOVE big hair, so this was a treat to be able to tell her that her dreams of big hair were possible When I sat her down for her consultation and gave her "the talk" about how in most photos with long luxurious or big hair, there's a lot of hair there that's was added to create a look. As I like to say, "There's a whole lotta weave up in that mess!!!" Haha!!! So I showed her the "filler" I made, she looked at is sideways after which I reassured her that it was definitely going to work and we moved forward with the style.Here's how I did it:

 Materials Needed:
1 or 2 packs of braiding weave to match the hair color (cost $3-$5 a pack... no need to buy the good stuff!!)
netted wig cap or hair net (cost $1-$2)
wig brush/back combing brush ($.49-$5 depending on brand)
crafting thread ($3-$5)
crafting needle ($1-$2) Shhhh... I used my weave needle!! Ha!!!
scissors (Meh... I don't remember!! Ha!!)
Step 1: Remove braiding weave from package being careful not to let the hair separate. Tie a knot in the hair mid way down the length to create two equal sections of braid-able hair.

Step 2: Combine the braid-able sections and separate them into 3 equal sections.

Step 4: Backcomb the 3 equal sections you created.
.JPG)
Step 5: Braid the 3 backcombed sections. When you get to the end, combine the ends of each section and back comb them together to finish the braid.

Step 6: Take the braided weave and pack into the wig cap/hair net.

Step 7- Once the enclosure is sewn shut, cut off the excess wig cap/hair net.

Step 8- Viola'!!! Your filler is now complete and ready to mount on someone's head :D Marvel in your aweosomeness and take a bow!!
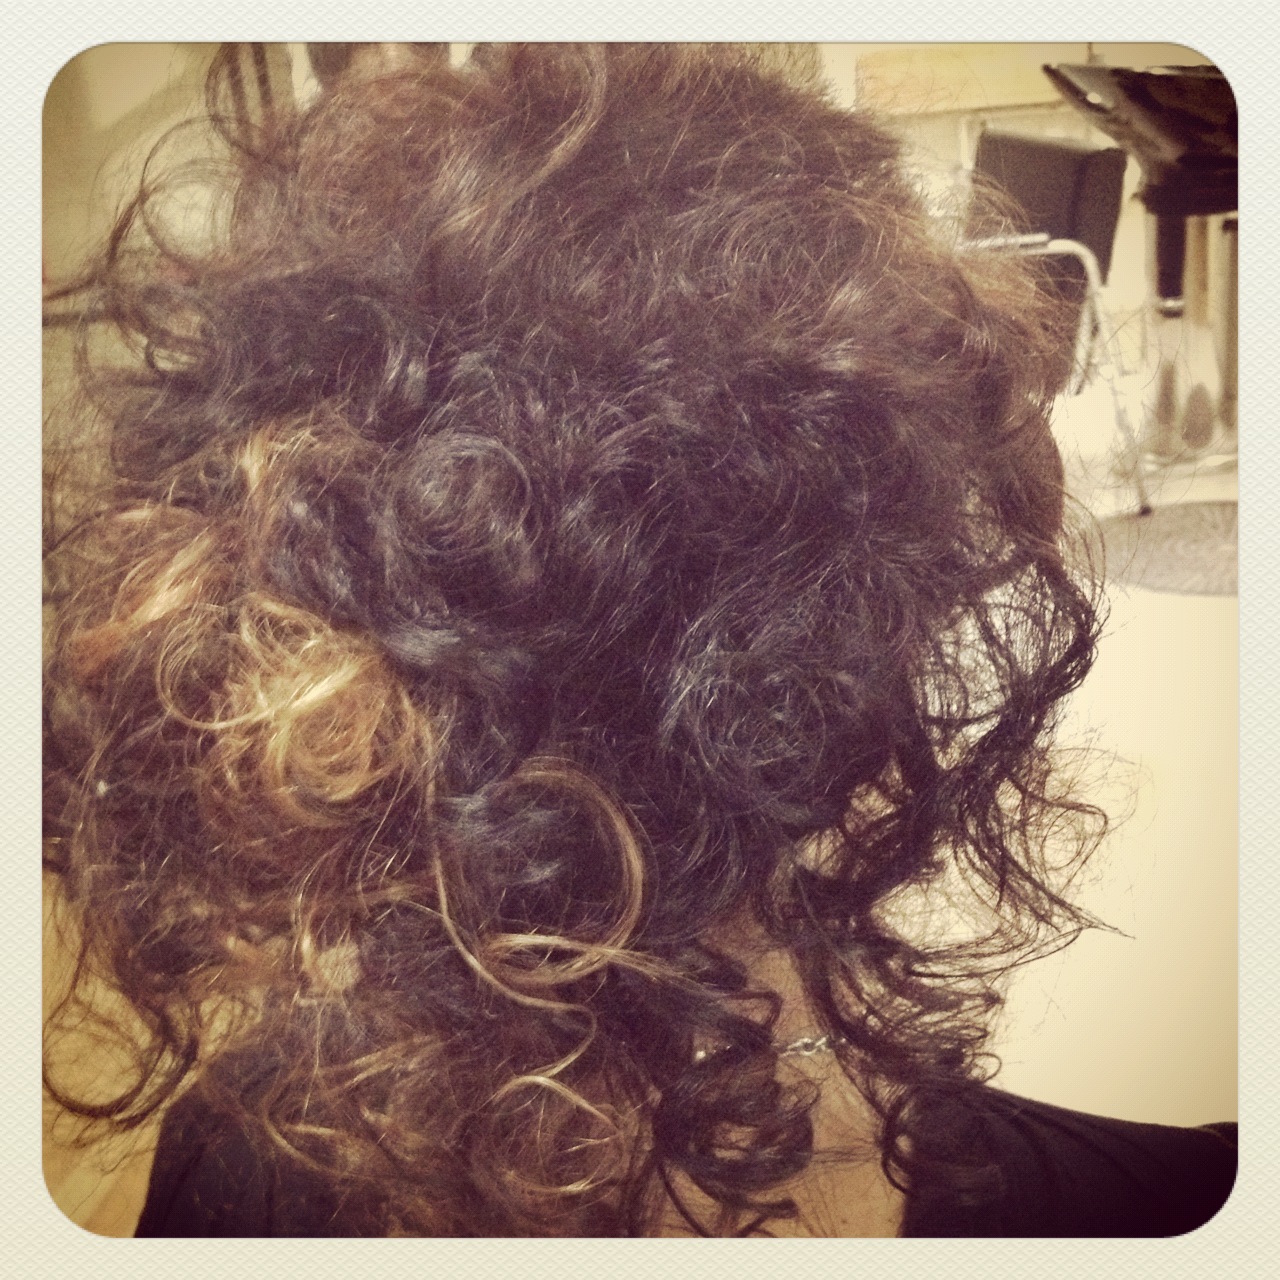
Beautiful right?!? I have to say, I was quite impressed with myself and my craftiness when I was done. Hopefully this is something you can apply to future crazy big updos or at home dos in place of crap tons of back combing. I think this is a great alternative to the God forsaken Bumpit and an easier to hide version of the loofa trick. Try it and let me know how it works out for you!!
Quick Tip: For an even more spectacularly voluminous look, add more hair to the hair net or make multiple fillers to pin or sew in.